Jan 31, 2014

We heart mail project and my January swap

In the beginning of the year Choni asked me, if I would like to take part at a snail mail project called the We heart mail project. It's similar to The Happy Mail project which I loved very much, so I certainly agreed! ♥

 photo WeHeartMail-button_zps6acdc9fb.jpg

We are 14 snail mail lovers all around the world writing and preparing a letter each month with a special theme to one of the others. :)

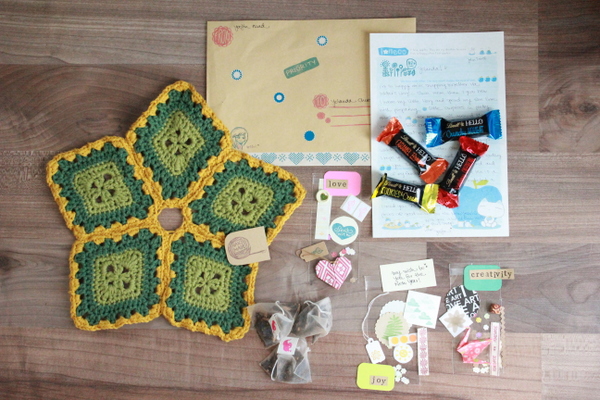
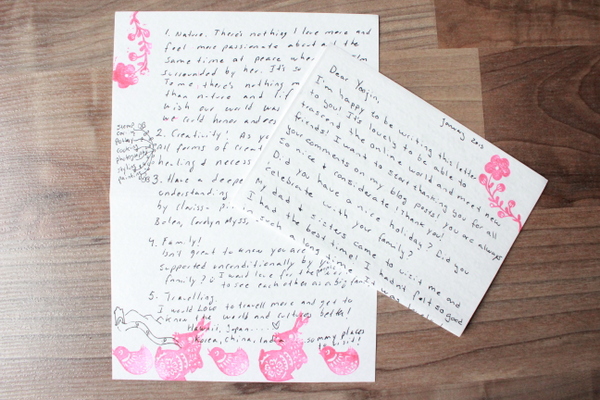
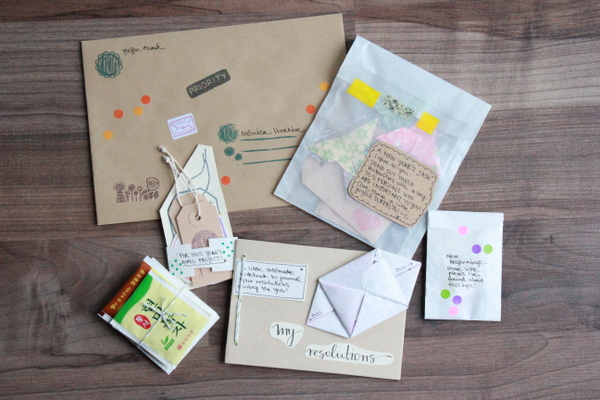
January's theme was "New beginnings and resolutions". So this is what I've prepared for dear Monica from Brazil:


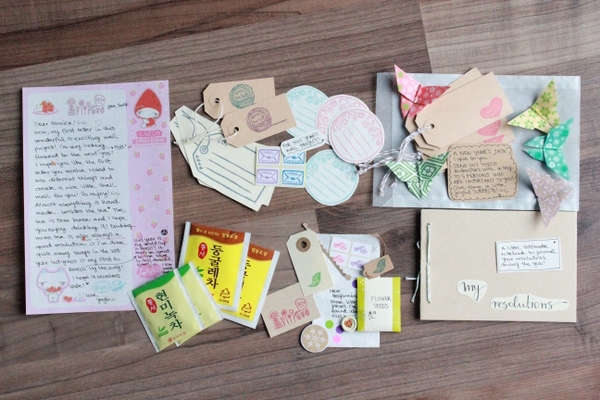
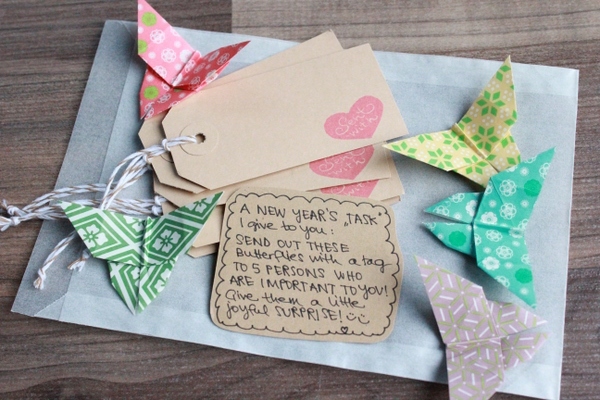
I thought it would be a nice idea to give Monica the "task" to send out little happy surprises to persons she loves during the year. :)


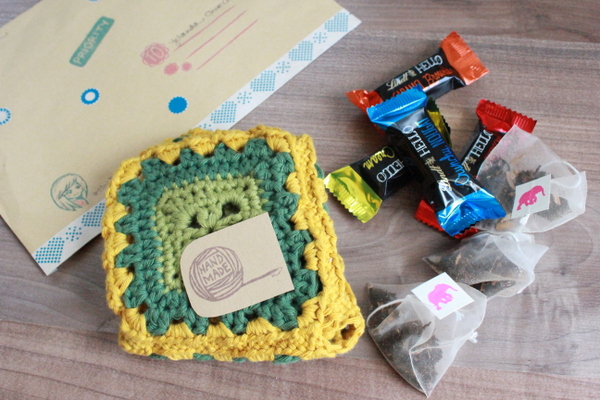
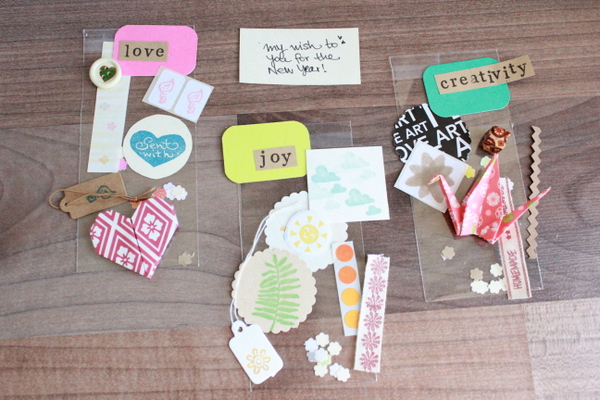
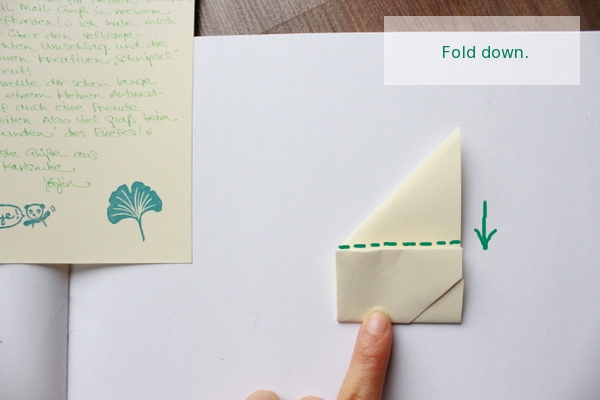
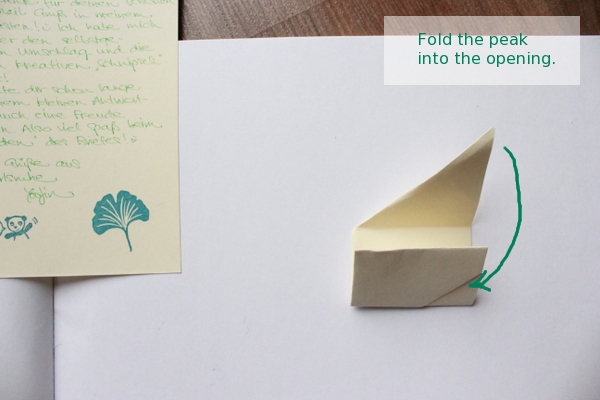
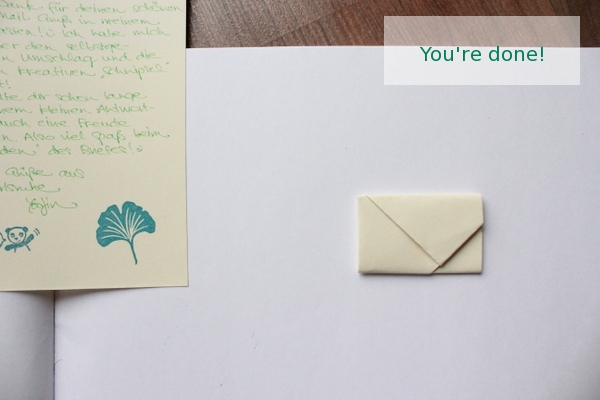
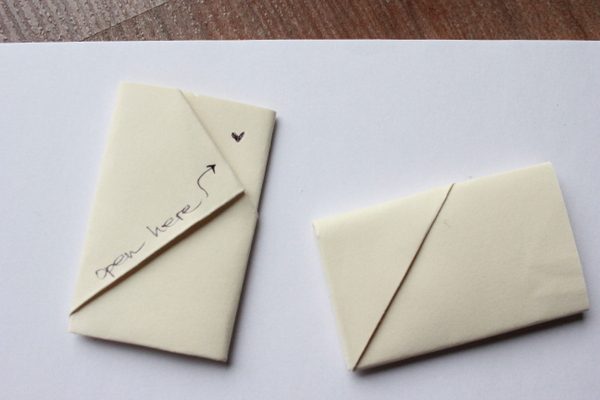
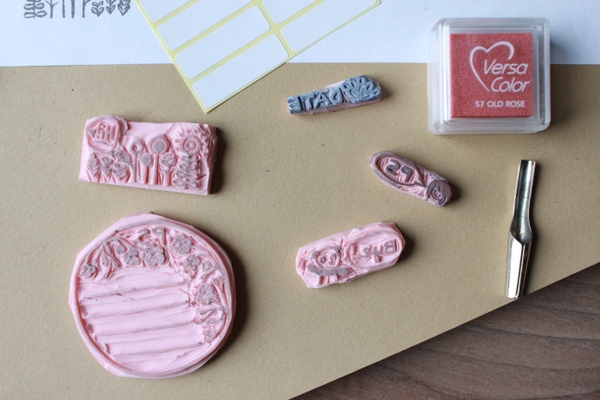
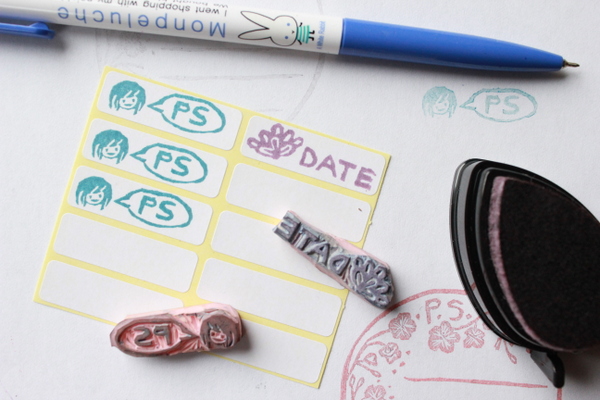
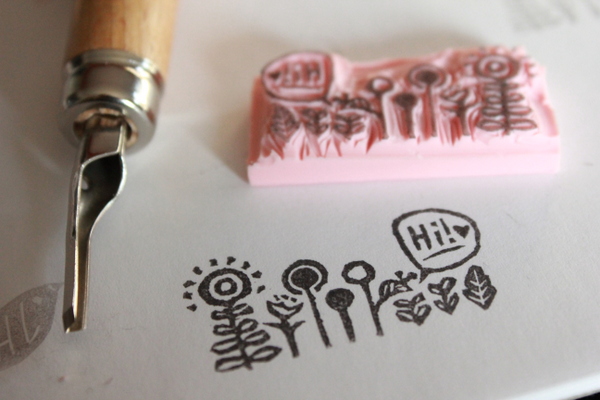
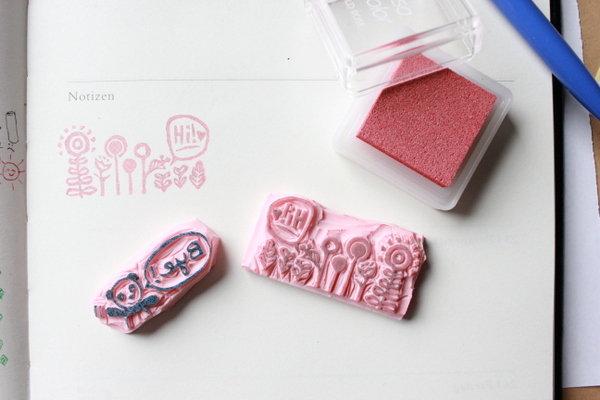
I made her a little notebook where she can keep track of how she's doing with her resolutions for this year. :) And I arranged some pieces I liked for the theme.


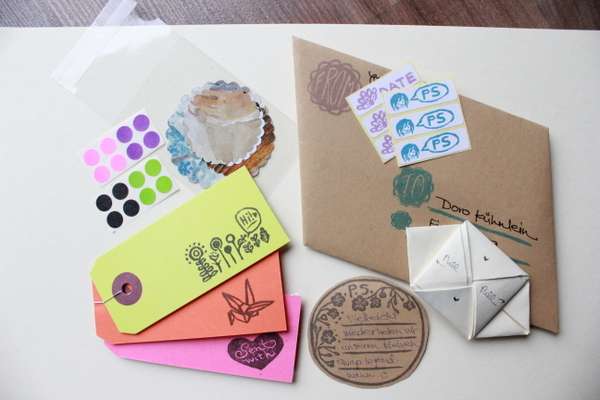
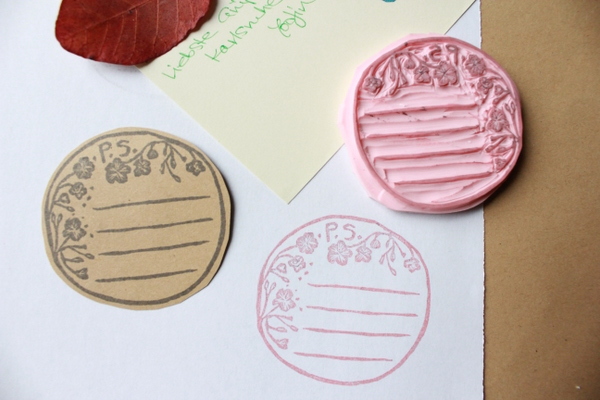
And of course some paper pieces for this year's project!


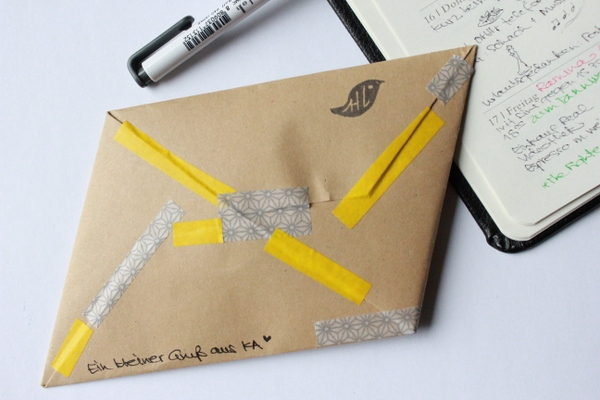
Everything wrapped up and already on its way to a faraway destination! :)


I'm very excited and looking forward to how this project is going to develop during this year. I will keep you updated, but you can also take a look at our website (you'll find further links there).

Have a lovely weekend everyone!

Jan 30, 2014

Ishtar swap to Spain

Do you know Ishtar's blog? It's one of the most beautiful blogs about snail mailing and stamp carving! :) Her creations are always such an inspiration to me.

I participated in one of her organized swaps (see the last time I participated) and prepared a swap for Yolanda from Spain.

The "rules" were: A letter, something handmade, something to drink or eat and a wish for the year 2014!
And this is what I've prepared:


A self-crocheted star coaster...


...one of my favourite sweets, chai tea...


...and my wishes for Yolanda for the year 2014: Love, joy and creativity! ♥


I hope the swap arrives safely and Yolanda enjoys the things I've prepared for her. :)

Jan 28, 2014

A swap using folding techniques

The last topic of this monthly project is "swaps".

So this is the first swap I would like to show you: A little letter for dear Doro. I used some folding techniques to make the letter a little bit more special. :)


Wish you all a lovely week! :)

Jan 26, 2014

Stationery folding technique

Like last week I would like to end this week's theme with a little DIY, a simple letter folding techniques I know from my childhood. :)

As I had some troubles explaining the steps in words, I tried a different approach this time. ;) I hope the pictures now speak for themselves. :)

If you have more than one sheet, you can stack them and fold altogether.


Really simple but still a nice way to fold up your letter.
Wish you all a lovely start into the week and have fun folding! :)

Jan 23, 2014

Stationery stamps

Of course I carved new stamps for this week's theme. :) Little stamps to embellish the stationery or card you're writing on.


I carved zhese two stamps for my first "real" swap. :) I don't know if you remember the post, so I thought of showing them again. I carved them in the right size to embellish blank stickers. :)


One of the new stamps is a "hi" stamp for the beginning of the letter...


... and another one a "bye" stamp for the end. :)


I also carved a new P.S. stamp. You can stamp it directly at the end of your letter or on a separate piece of paper.


Do you like to use stamps for embellishing your stationery? :)

Jan 21, 2014

Stationery ideas

This week's snail mail theme is "stationery"! :)


Like last week, I picked out nice stationery ideas from letters I got during the last years to show you:

Using pretty stationery paper, for instance with cute little stickers on it, ...


...turning "normal" lined or checked paper into stationery, typing on a typewriter instead of handwriting...


...or writing on your own stationery embellished with pretty stamps. Stamps, especially self-carved ones, make everything prettier. ♥


I also love the idea to sew a small envelope containing the actual letter...


...or using a little tag or card instead of normal stationery paper!


Especially selfmade ones are great to receive! :)


And last but not least, the most extraordinary stationery I received was part of a tree bark! :D


Have fun with creating your next snail mail! :)

Jan 19, 2014

Envelope folding technique

I would like to end this week's theme with a little DIY. I've found this envelope folding technique years ago in one book I borrowed from the library. And since then I like to use it sometimes to create a fun envelope. :)

All you need is paper and your hands. :)


Fold the paper horizontally, but only at the ends, otherwise you will get not a nice crease in the middle of the front of your envelope.


Fold the corners aligning the middle crease.


Fold the lower and upper part aligning the middle crease.


Fold the left and right part aligning the lower and upper end of the envelope


Put the corners inside.


You're done! :)


Now you can embellish the envelope as you like.


I hope you like this little DIY. Even though my explanations are poor, I hope you get the DIY by looking at the pictures. ;)